(Please note all content in this post is for informational purposes only. Farm & Fork Society is not an expert in preserving food and makes no representations as to the accuracy or completeness of any information or found by following any link. Reading and/or using any of the information from Farm & Fork Society is at your own risk.)
Canning
Shelf Life 1-5 Years
Canning is a process in which food is preserved in glass jars by applying high heat. The method seals the food in jars and stops natural spoilage. There are two home canning methods -- Waterbath Canning and Pressure Canning. In these methods, the food is processed in jars at extremely high temperatures for a long period of time, the heat kills microorganisms and inactivates enzymes that could cause the food to spoil. The heating process also drives air from the jar, creating a vacuum seal as the food cools. This prevents air, and the microorganisms it contains, from entering the jar and recontaminating the food. There are also two types of canned foods -- raw pack -- uncooked food put into jars and processed; and hot pack -- food that is heated before it is put into jars.
Waterbath Canning is used for high acid food such as fruits, jams, pickles, relishes, chutneys, and tomatoes (with acid added). For this process, produce is cooked according to a tested recipe and filled in sterilized jars, such as Ball Jars, covered with tops and placed in a pot of boiling water for a specific time to insure they are fully processed. For detailed instructions on Water Bath Canning, please refer to these Step by Step instructions which also include a list of items you will need and Food In Jars Canning 101 that has the answers to everything canning.
Pressure Canning is used for low acid foods such as vegetables, meats, poultry and seafood (even if high acid foods such as tomatoes are combined, these foods are still considered low acid). Special handling is need to eliminate the risk of spoilage when canning low acid goods. The bacteria Clostridium botulinum can form toxin-producing spores if not done at the correct temperature of 240 degrees and established processing time. A Pressure Canner is the only way to insure the correct temperature. For detailed instructions on Pressure Canning check out these Step by Step Instructions.
Recipes
Water Bath:
Pressure Canner:
To Use
Books

Canning Kit
The Ball Fresh Preserving Kit includes everything you need to get you started in canning -- 21 quart pot, canning rack, jar funnel, jar lifter, lid lifter and bubble remover. (Fresh Preserving Store, $79.95)
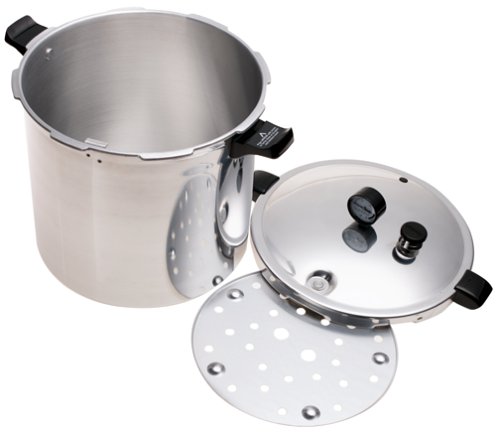
The Presto Quart Pressure Canner and Cooker is one of the top rated pressure cookers on the market. Can also be used as a boiling-water canner. Has a deluxe pressure dial gauge that registers the complete range of processing pressures. Includes canning/cooking rack and complete 76-page instruction and recipe book. (Amazon, $79.97)
Freezing
Consume within 1 Year
Freezing is one of the fastest and easiest way to preserve your produce. Freezing fruits and vegetables at the peak of their ripeness ensures you will have fresh produce to eat all winter long. Vegetables such as asparagus, broccoli, green beans, peppers, summer squash, dark leafy greens and berries are great frozen.
You can freeze your produce in freezer bags, plastic or freezer glass containers. Check out this great article on Choosing the Right Container for Freezing from The Kitchen.
Wash and dry all your produce prior to freezing.
Most vegetables also need to be blanched before freezing. Blanching — the process of heating vegetables with boiling water or steam for a set amount of time, then immediately plunging them into cold or iced water. Blanching stops enzyme activity that causes vegetables to lose nutrients and change texture. The cooled veggies can then be packed into bags, jars or other freezer-safe storage containers.
The best way to freeze blanched vegetables and fruits is to lay them out on a cookie sheet in a single layer in the freezer. Once frozen you can then transfer them to a container. his method ensures that they do not stick together and you will be able to remove only the amount you need for your meal. In addition, it is important to remove as much air from the container as possible to limit the amount possible freezer burn unless you are freezing liquids and then you need some expansion space.
For more in depth information on freezing different vegetables and fruit check out these articles from Mother Earth News and Design Mom.
Herbs can also be frozen. Check out this great farticle rom A Way to a Garden on how to freeze herbs.
Remember to label and date everything!
To Use

The Pyrex Storage Plus 14-Pc Set is a great way to start freezing! Clear glass bowls with secure-fitting lids keeps your stored foods fresh. The set includes 3- & 6-cup rectangular and 1-, 4- & 7-cup round dishes, and two 2-cup round dishes, all with red plastic lids. Glass is preheated oven, microwave, fridge, freezer & dishwasher safe and the lids are BPA free, microwave & top-rack dishwasher safe. (Pyrex, $44.99)
 How to Freeze at Home is a book for those who have a freezer of unlabelled, unrecognisable and out of date every time they defrost! What they need is a practical management plan to control this waste. Here it is! It includes everything they need to know in one handy volume. There's food preparation and packaging, storage times, freezing made-up dishes, cooking from frozen, defrosting, freezer-to-microwave cookery, hygiene, and food safety. Plus that fail-safe system to prevent you finding UFOs (unidentified frozen objects)! (Amazon, $17.08)
Fermenting
Shelf Life 4-18 months
Fermentation of vegetables happens when the natural bacteria break down the components of the vegetables into forms easier to digest and often more nutritious than the raw vegetable itself. It is a process in which microorganisms such as bacteria, yeast or fungi convert organic compounds – usually carbohydrates such as sugars and starch – into alcohol or acids. Fermented vegetables begin with lacto-fermentation, natural bacteria feed on the sugar and starch in the food creating lactic acid. The vegetables and spices are mixed with salt or placed in a saltwater brine. The salt then inhibits the growth of unwanted organisms, until the acid produced by the lactobacilli lowers the pH sufficiently to inhibit growth and spoilage.
Many cultures around the world have been eating fermented foods for years -- Kimchi in Korea, fermented cabbage in Greece, sauerkraut in Europe, borscht in Russia, and much more.
Fermented foods have many health benefits. It creates beneficial enzymes, b-vitamins, Omega-3 fatty acids, and various strains of probiotics. Fermented foods contribute to live (good) microbes in the gut. Studies have shown that probiotics aid in digestion, help fight disease and enhance the immune system. Fermenting food has also been shown to preserve nutrients in food and break the food down to a more digestible form. For more information on the health benefits of Fermented Foods click here and here.
Almost any vegetable can be fermented and they can be fermented alone or combined to create a mix of vegetable along with herbs and spices. To learn how to ferment your produce check out this step by step demonstration on How to Ferment Vegetables. Also check out Phickle, a great website to learn all about fermenting.
Recipes
To Use
Fermenting Products
 If you get serious about Fermenting, then you must check out Fermentools. They carry all the fermenting products you need!
Books
Real Food Fermentation: Preserving Whole Fresh Food with Live Cultures in Your Home Kitchen
The Art of Fermentation: An In-Depth Exploration of Essential Concepts and Processes from around the World
The Art of Fermentation: An In-Depth Exploration of Essential Concepts and Processes from around the World
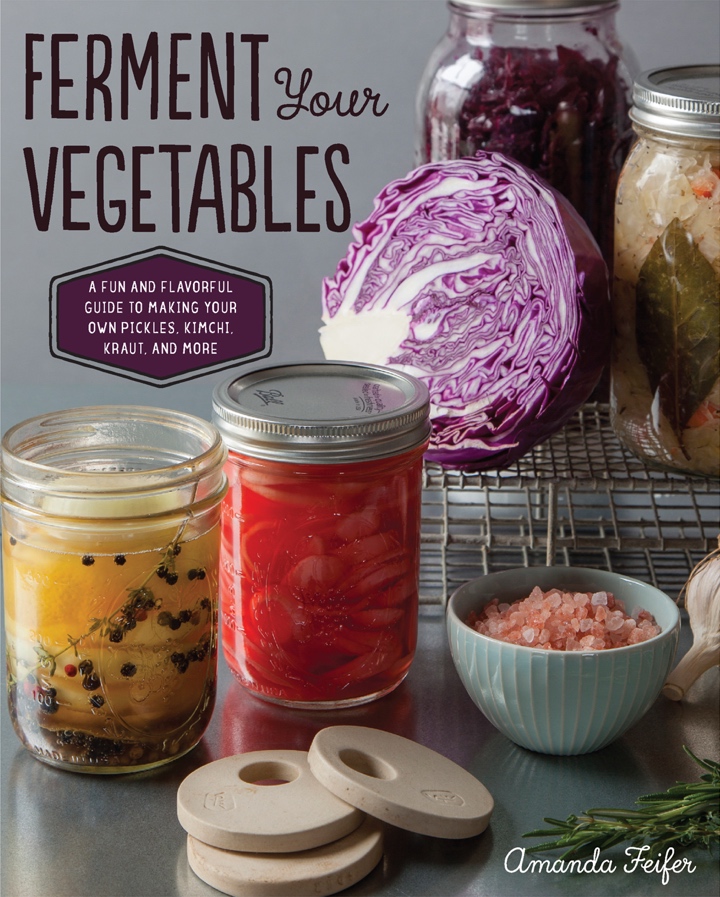
Ferment Your Vegetables: A Fun and Flavorful Guide to Making Your Own Pickles, Kimchi, Kraut, and More
Drying
Homemade Fruit Roll Ups
Dehydrated Apples
Cinnamon Apple and Banana Chips
Homemade Dried Cranberries
Carrot Chips
Crispy Kale Chips
Rosemary Sweet Potato Chips
Potato Flakes from Scratch
Marinated Dried Eggplant
Raw Butternut Squash Cookies

To Use
Dehydrator
The Excalibur 3926TB Food Dehydrator is the top of the line dehydrators. Comes with 9 trays (15 square feet of drying space), a built in on/off switch and adjustable thermostat with 26 hour timer. (Walmart, $199)
Dehydrator Bible - Over 400 Recipes
Drying
Drying Food
Oil Pack
2-3 weeks in the Refrigerator
Up to 12 months in the Freezer
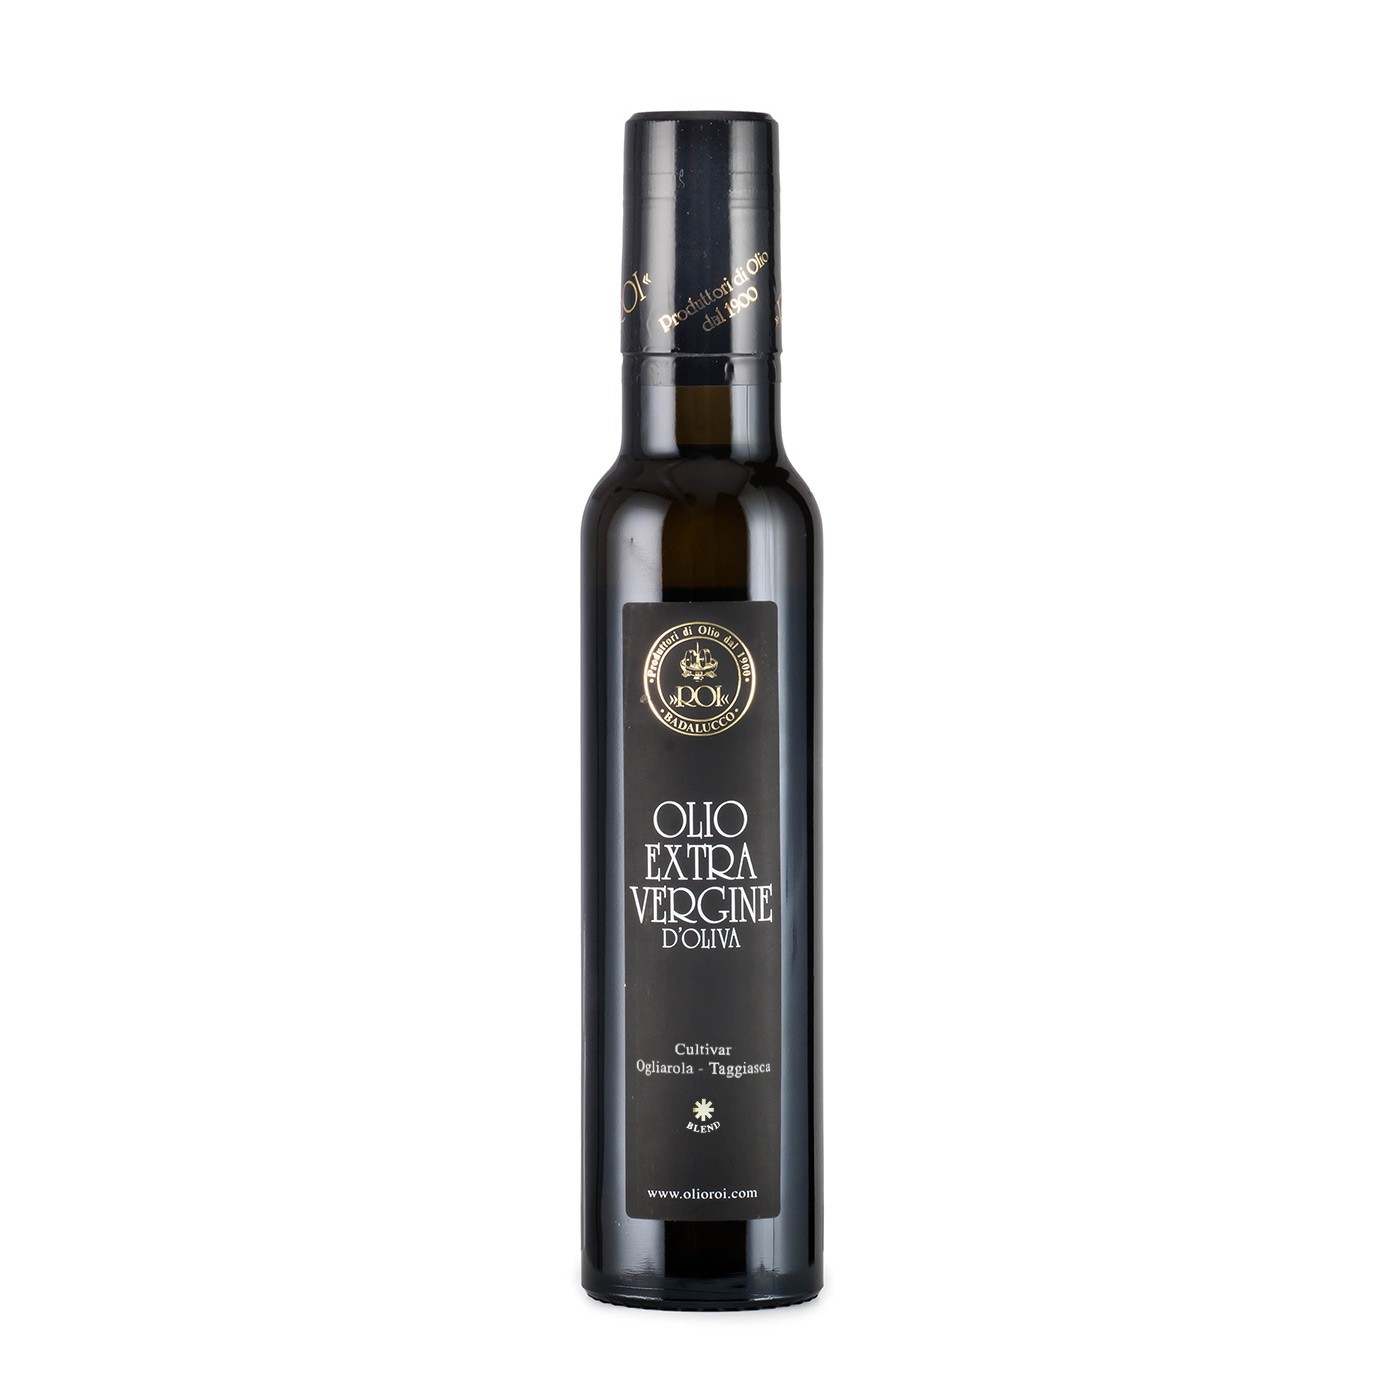
In places were olive trees were prevalent like Ancient Greece, people began to preserve cooked foods in big amphoras by covering the food with olive oil and sealing the jars. Oil packing is a great way to enjoy summer produce long into the winter. This process can be used to preserve vegetables, meats, fish, cheese and herbs. Olive oil is a natural preservative that prevents spoilage as it isolates the food in an air-free environment which slows down deterioration, oxidation and molding. Foods suited for oil-packing include sun-dried tomatoes, baby artichokes, sweet peppers, eggplants, mushrooms, goat cheese, basil (pesto), lemons, sardines and tuna fish.
Vegetables and fruits that are used for oil packing should be blemish free and dry. It is important to keep food safety in mind when oil packing foods. Low acid foods can be a source of Clostridium botulinum bacteria which is responsible for food borne botulism. This bacteria is able to survive in fairly adverse environments like the oxygen free environment of oil packing. Extreme heat will destroy botulism spores but you can not boil oil packed products by the same method you would use for canned products (hot water bath). When researching methods for oil pack preserving look for viable and trustworthy resources. Commercial products stored in oil are acidified to prevent bacterial growth and can often be stored at room temperature until they are opened (oil packed garlic) and after being opened should be stored with refrigeration. Homemade oil packed products should always be stored in the refrigerator or freezer.
Recipes
Dried Tomatoes in Oil
Zucchine Scott'Olio
Slow Roasted Eggplant in Olive Oil
Roasted Sweet Peppers and Herbs Preserved in Olive Oil
Preserved Meyer Lemons
Root Cellar/Cold Room
Shelf life will vary depending on product
Root Cellar and Cold Room Storage is an old fashioned preserving method used for centuries. It is a form of storage that maintains food at an optimum temperature, humidity and light. Todays version of a Root Cellar is a refrigerator but if you want to store your food for longer periods of time without electricity, there are several options available. Before you store any fruits and vegetables sort them by quality. Look for firm, mature (meaning the produce will become ripe after harvest) unblemished fruits and vegetables. Never store overripe, damaged or decaying produce. Most produce is best stored in mesh bags, baskets or other containers that allow for the circulation of air. Products that do well in cold storage are cabbage, onions and garlic, potatoes, pumpkins and winter squashes, root crops including beets, celeriac, horseradish, parsnips, rutabagas, salsifies, turnips and winter radishes, citrus fruits and pome fruits like apples and pears.
Types of winter food storage methods include the following:
A Root Cellar which is the classic winter storage system that existed when homes had unfinished basements with dirt floors. An open and non-insulated root cellar was often cool and drafty with adequate airflow. Even with high humidity this airflow restricted condensation.
A Cold Room which is a finished but unheated room in a warm and dry basement. The biggest difference between a Cold Room and a Root Cellar is the construction. If you have a a cold room or a basement that is partly below ground then you may be able to create a usable cold storage room. Shelving should be built away from walls to promote air circulation. Both of the above methods need a maintained temperature of 32 F to 60 F depending on the food to be stored.
Drying
Dried foods, when kept dry, can be kept for very long periods, even years
Drying is one of the oldest methods for preserving foods for later use. With modern food dehydrators, fresh fruits and vegetables can be dried year round. Drying removes the moisture in food so the bacteria, yeast and mold cannot grow and spoil the food. Drying also slows down the enzymes which cause food to ripen but it does not completely halt the process. Benefits of drying include the preservation of vitamins, minerals, protein and fiber. Dehydrated foods often have more flavor than the fresh product as the sugars are concentrated. The cost of dehydrating foods is reasonably low and the foods can ultimately be stored in a relatively smaller space. Foods can be dried in the sun, in an oven or in a food dehydrator using the right mix of warm temperatures, low humidity and air circulation.
In the Oven
Oven drying is the simplest and most convenient method of drying. Temperatures can be kept under 200F and the equipment is minimal. Usually a fan is needed to circulate the air around the oven. Oven drying while convenient has some disadvantages compared to other forms of drying. Food can lose its color as well as its vitamin content. For more about oven drying check out this page.
In the Sun
Sun drying is oldest method of drying foods. Though time consuming, this method requires little equipment. An example would be a couple of tables, cookie sheets or aluminum foil and a protective netting to keep the insects away. Remember food safety plays a role here as fruits are probably the safest to sun dry with their higher sugar and acid content. Herbs are also a good choice. For more in-depth information about sun drying food go here.
In the Dehydrator
There are many different electric food dehydrators available. They fall into two categories. Those with stackable trays and those constructed of a rigid box with removable shelves. Some have vertical air flow and some horizontal. Size is also a factor as some fit on the counter and others are free standing. For more information on how to choose a dehydrator and the process go here and here.
Recipes
Dehydrated Apples
Cinnamon Apple and Banana Chips
Homemade Dried Cranberries
Carrot Chips
Crispy Kale Chips
Rosemary Sweet Potato Chips
Potato Flakes from Scratch
Marinated Dried Eggplant
Raw Butternut Squash Cookies

To Use
Dehydrator
The Excalibur 3926TB Food Dehydrator is the top of the line dehydrators. Comes with 9 trays (15 square feet of drying space), a built in on/off switch and adjustable thermostat with 26 hour timer. (Walmart, $199)
Books and Websites
Preserve Naturally Complete Guide to DehydrationDehydrator Bible - Over 400 Recipes
Drying
Drying Food
Oil Pack
2-3 weeks in the Refrigerator
Up to 12 months in the Freezer
In places were olive trees were prevalent like Ancient Greece, people began to preserve cooked foods in big amphoras by covering the food with olive oil and sealing the jars. Oil packing is a great way to enjoy summer produce long into the winter. This process can be used to preserve vegetables, meats, fish, cheese and herbs. Olive oil is a natural preservative that prevents spoilage as it isolates the food in an air-free environment which slows down deterioration, oxidation and molding. Foods suited for oil-packing include sun-dried tomatoes, baby artichokes, sweet peppers, eggplants, mushrooms, goat cheese, basil (pesto), lemons, sardines and tuna fish.
Vegetables and fruits that are used for oil packing should be blemish free and dry. It is important to keep food safety in mind when oil packing foods. Low acid foods can be a source of Clostridium botulinum bacteria which is responsible for food borne botulism. This bacteria is able to survive in fairly adverse environments like the oxygen free environment of oil packing. Extreme heat will destroy botulism spores but you can not boil oil packed products by the same method you would use for canned products (hot water bath). When researching methods for oil pack preserving look for viable and trustworthy resources. Commercial products stored in oil are acidified to prevent bacterial growth and can often be stored at room temperature until they are opened (oil packed garlic) and after being opened should be stored with refrigeration. Homemade oil packed products should always be stored in the refrigerator or freezer.
Recipes
Dried Tomatoes in Oil
Zucchine Scott'Olio
Slow Roasted Eggplant in Olive Oil
Roasted Sweet Peppers and Herbs Preserved in Olive Oil
Preserved Meyer Lemons
Root Cellar/Cold Room
Shelf life will vary depending on product
Root Cellar and Cold Room Storage is an old fashioned preserving method used for centuries. It is a form of storage that maintains food at an optimum temperature, humidity and light. Todays version of a Root Cellar is a refrigerator but if you want to store your food for longer periods of time without electricity, there are several options available. Before you store any fruits and vegetables sort them by quality. Look for firm, mature (meaning the produce will become ripe after harvest) unblemished fruits and vegetables. Never store overripe, damaged or decaying produce. Most produce is best stored in mesh bags, baskets or other containers that allow for the circulation of air. Products that do well in cold storage are cabbage, onions and garlic, potatoes, pumpkins and winter squashes, root crops including beets, celeriac, horseradish, parsnips, rutabagas, salsifies, turnips and winter radishes, citrus fruits and pome fruits like apples and pears.
Types of winter food storage methods include the following:
A Root Cellar which is the classic winter storage system that existed when homes had unfinished basements with dirt floors. An open and non-insulated root cellar was often cool and drafty with adequate airflow. Even with high humidity this airflow restricted condensation.
A Cold Room which is a finished but unheated room in a warm and dry basement. The biggest difference between a Cold Room and a Root Cellar is the construction. If you have a a cold room or a basement that is partly below ground then you may be able to create a usable cold storage room. Shelving should be built away from walls to promote air circulation. Both of the above methods need a maintained temperature of 32 F to 60 F depending on the food to be stored.
Buried Containers can make a convenient root cellar or cold space for winter food, especially root vegetables. Suitable containers include new metal or plastic garbage cans and plastic storage bins. Holes are drilled at the bottom for drainage. A hole is dug that is just large enough to hold the container and two inches of the top of the container should be above ground. The container is then loaded with layers of vegetables separated by straw. Cover the top with 1 to 2 feet of insulating materials.
Makeshift Cellars can include a basement utility room which tend to be warm and dry and are suitable for storing winter squashes and onions plus dried and canned foods. Attic rooms that are warm and dry are good for onions as well as dried vegetables but by summertime, which can bring on humid weather, the stored food should be consumed.
All of the storage methods above should be maintained with a thermometer and a hygrometer which measures the humidity. For root cellar storage requirements go here.
To Use
Books and Website
Complete Idiots Guide to Self Sufficient Living
Root Cellar Building Book
The Home Preserving Bible
www.homepreservingbible.com
Mother Earth News
Common Sense Homesteading
Complete Idiots Guide to Self Sufficient Living
Root Cellar Building Book
The Home Preserving Bible
www.homepreservingbible.com
Mother Earth News
Common Sense Homesteading